GLFW Example
Here I’ll briefly discuss a tiny GLFW example. Previously, I explained how to setup Eclipse CDT to work with OpenGL, using GLFW and GLAD. However, I instructed to copy-paste the example code on GLFW Documentation page, without providing any details. In the following I’ll present some code that you can add to the little project of our setup post, and will include GLAD initialization too.
#include <glad/glad.h>
#include <GLFW/glfw3.h>

// Dimensions of our window
const int SCREEN_WIDTH = 800;
const int SCREEN_HEIGHT = 600;

int main(void)
{
    // Our future window
    GLFWwindow* window;

    // Initialize GLFW
    if ( ! glfwInit() )
    {
        return -1;
    }

    // I'll be using OpenGL Core 3.3. So we provide these hints to GLFW
    // BEFORE creating the window with glfwCreateWindow.
    // These hints specify some options for our window and framebuffer.
    glfwWindowHint(GLFW_CONTEXT_VERSION_MAJOR, 3);
    glfwWindowHint(GLFW_CONTEXT_VERSION_MINOR, 3);
    glfwWindowHint(GLFW_OPENGL_PROFILE, GLFW_OPENGL_CORE_PROFILE);

    // Create the window and its OpenGL context
    window = glfwCreateWindow(SCREEN_WIDTH, SCREEN_HEIGHT, "OpenGL: Starting point", NULL, NULL);

    // If window creation failed, stop. Don't forget to release
    // resources with glfwTerminate.
    if ( ! window )
    {
        glfwTerminate();
        return -1;
    }

    // Before we can use the newly created OpenGL context, we need
    // to make it current. Use glfwMakeContextCurrent for that.
    glfwMakeContextCurrent(window);

    // Initialize GLAD. If it succeeds, we're ready to invoke
    // OpenGL functions.
    if ( ! gladLoadGLLoader((GLADloadproc)glfwGetProcAddress) )
    {
        glfwTerminate();
        return -1;
    }

    // The loop.
    while ( ! glfwWindowShouldClose(window) )
    {
        // Clear color buffer
        glClear(GL_COLOR_BUFFER_BIT);

        // Swap the front and back buffers of our window
        glfwSwapBuffers(window);

        // Poll for and process any events in queue
        glfwPollEvents();
    }

    // Always release resources allocated by GLFW
    glfwTerminate();

    return 0;
}
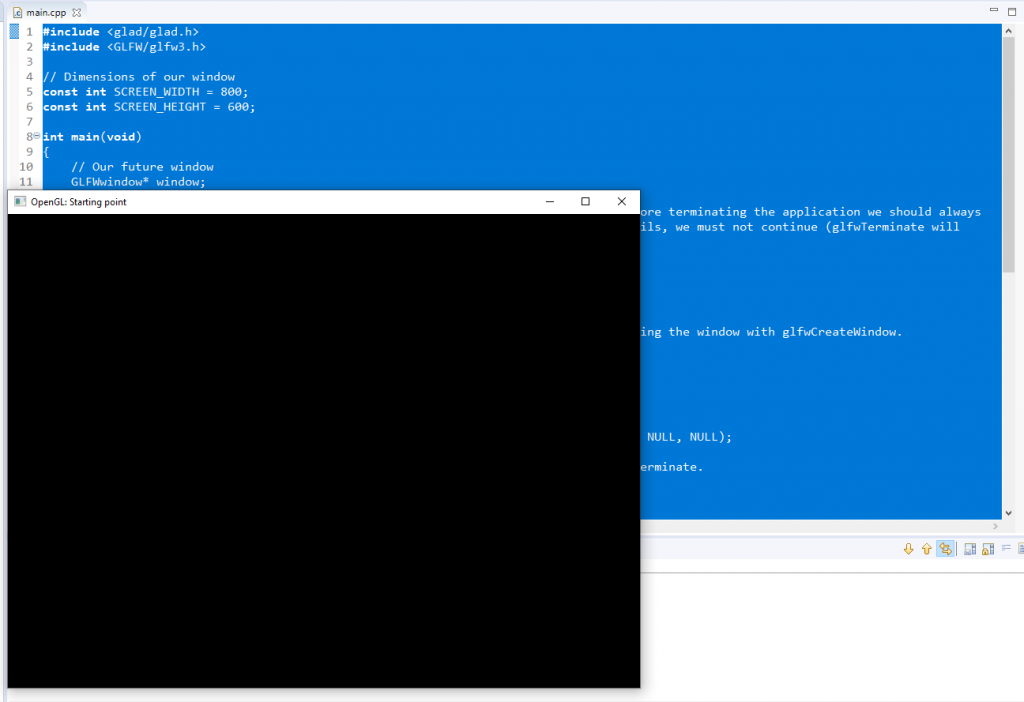
Now we should compile our little program in Eclipse CDT flawlessly (don’t forget to add glad.c to your project). This is the resulting window:

Notice that we initialize the GLFW library with glfwInit. We should always start by initializing GLFW, and before terminating the application we should always execute glfwTerminate to free any resources allocated by GLFW. If glfwInit fails, we must not continue (glfwTerminate will be automatically called by glfwInit in such case.)
In the future, all the interesting things will occur inside the loop. This is the common pattern for working with GLFW. We’ll run a loop until the window is closed. The window might be closed by an user’s action (e.g., by clicking the close button, or via Alt + F4). We can also request the window to be closed programmatically by means of a call to glfwSetWindowShouldClose.
In an upcoming post I’ll show how to actually render something with OpenGL.
